Planning a vegetable garden from seed catalogs: what to grow, how much and when
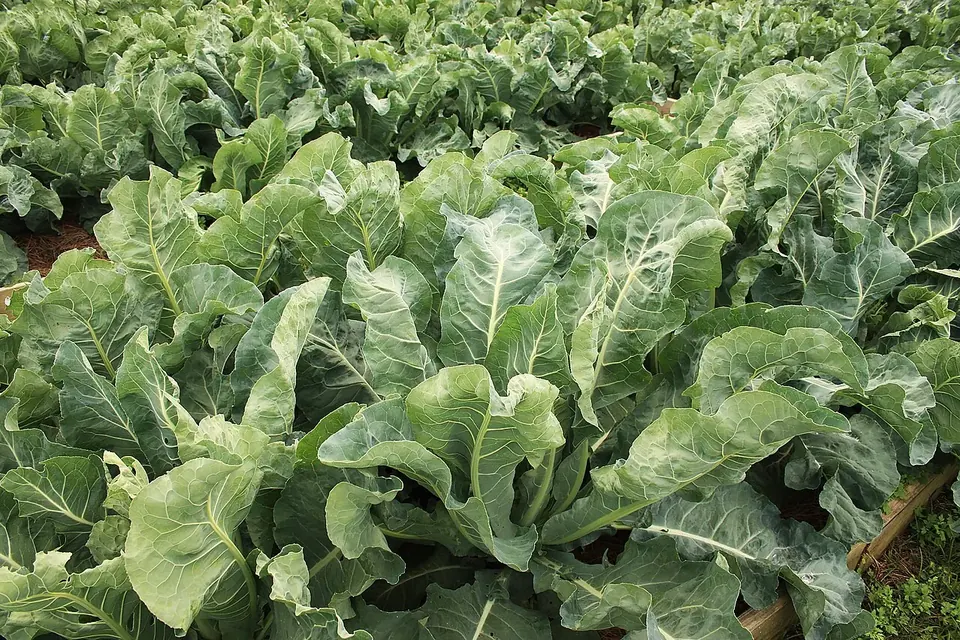
Seed catalogs make it easy to want everything. A plan makes it possible to grow something. The best vegetable gardens start not with the catalog but with the site: how much sun you get, what your soil is like, and when your frosts come. Then the catalog becomes a tool for filling the plan, not a temptation to overfill it.
Step 1: know your site
- Sun. Most vegetables need full sun. Oregon State University Extension recommends at least six hours of direct sun, and West Virginia University Extension suggests planning for eight; fruiting crops such as tomatoes, peppers and squash need the most. Leafy greens and herbs tolerate some shade.
- Soil. Get a soil test through your state's extension service before buying fertiliser. Most vegetables do well at a pH of about 6 to 7. In older urban yards, ask for a lead test too; raised beds with clean soil are the usual answer where levels are high. If you rent, agree soil testing and raised beds with the landlord first; see renting a house with a garden.
- Water. Plan beds within easy reach of a hose or tap. Vegetables need regular water, especially when fruiting.
- Space. Measure your beds. Raised beds of about 4 feet wide can be worked from both sides without stepping on the soil.
Step 2: know your season
Look up your average last spring frost and first fall frost dates from your extension service. The days between them are your frost-free season, and they decide which varieties will ripen. Penn State Extension divides vegetables into two groups:
| Cool-season crops | Warm-season crops |
|---|---|
| Peas, lettuce, spinach, radishes, kale, cabbage, broccoli, onions, carrots, beets | Tomatoes, peppers, eggplant, beans, sweet corn, squash, cucumbers, melons |
| Can be planted from several weeks to a couple of months before the last frost; many crops again in late summer for fall | Planted after the last frost, when soil and nights are warm |
Oregon State suggests using soil temperature rather than the calendar where you can: cool-season crops can usually go in when soil reaches about 50°F, warm-season crops need at least 60°F.
Step 3: choose crops and varieties
- Grow what you eat. List the vegetables your household actually buys and enjoys.
- Prioritise value. Crops that taste far better fresh, such as tomatoes, salad greens, herbs, sweet corn and peas, or are expensive to buy, give the best return on space.
- Check days to maturity against your season length; choose early varieties in short-season areas.
- Look for disease resistance for problems common locally. See how to read a seed catalog.
- Use regional recommendations. Many state extension services publish lists of vegetable varieties that perform well in their state.
Step 4: how much to grow
Overplanting is the commonest mistake. A few planning tips:
- A few well-grown tomato plants usually supply a household; add more only if you preserve.
- Sow salad crops little and often rather than all at once.
- Zucchini and summer squash are famously productive: one or two plants are often enough.
- Root crops and greens can be grown densely in blocks rather than single rows.
- Keep notes each year on what you grew, how much you harvested and what was wasted; next year's plan will be better.
Step 5: draw a plan and a calendar
- Sketch your beds to scale on paper or in a spreadsheet.
- Place tall crops on the north side so they do not shade shorter ones.
- Group crops with similar needs: water-hungry crops together, perennials such as asparagus and rhubarb in a permanent spot.
- Rotate crop families between beds each year to reduce soil-borne pests and diseases.
- Write a sowing calendar, counting back from your last frost date for indoor starts and transplants, and forward for direct sowing. See starting seeds indoors.
- Plan a fall garden: Oregon State suggests counting back from your first fall frost, using each variety's days to maturity.
Step 6: succession and interplanting
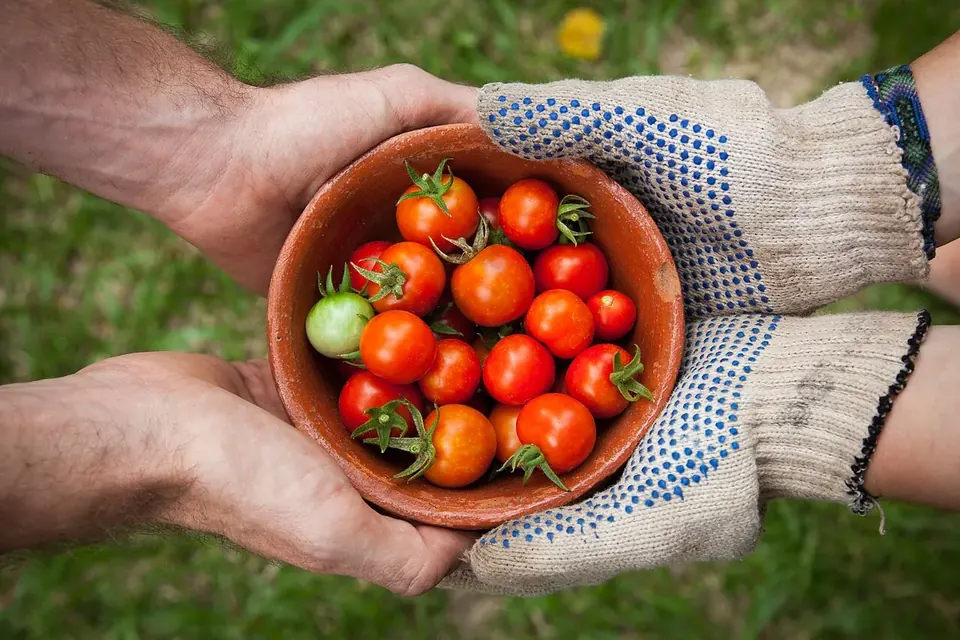
To keep a small garden productive, follow one crop with another: early peas or spinach followed by beans or squash; summer crops followed by fall greens. Sow fast crops such as radishes between slow ones such as carrots or parsnips. Succession sowing every two to three weeks gives steady harvests of lettuce, beans and radishes rather than one glut.
Step 7: order seed and plants
- Check your existing seed first; test old packets: see how long seeds last.
- Order seed in winter for the best choice.
- Order transplants by mail for crops you do not want to start yourself, with ship dates after your last frost for warm-season crops.
- Order asparagus crowns, strawberry plants and seed potatoes for spring planting, timed to your soil conditions.
- Buy only what fits the plan.
Keep a garden notebook
The most useful planning tool is the record you keep. Note varieties, suppliers, sowing and harvest dates, yields, pests and the weather. After two or three seasons, you will know which varieties suit your garden, how much of each crop your household really eats, and when to sow for the best results. That notebook makes each year's catalog order quicker and better.
Plan from the sun and the frost dates, then let the catalog fill the gaps.
Sources
- Penn State Extension, Cool-season vs. warm-season vegetables.
- Oregon State University Extension, Let soil temperature guide you when planting vegetables, and Vegetable gardening in Oregon.
- West Virginia University Extension, Vegetable gardening for beginners.
- University of Illinois Extension, Lead in soil fact sheet.
 Seeds & saving
How to read a seed catalog
Days to maturity, F1 or open-pollinated, disease codes and what the packet must tell you.
 Seeds & saving
Starting seeds indoors
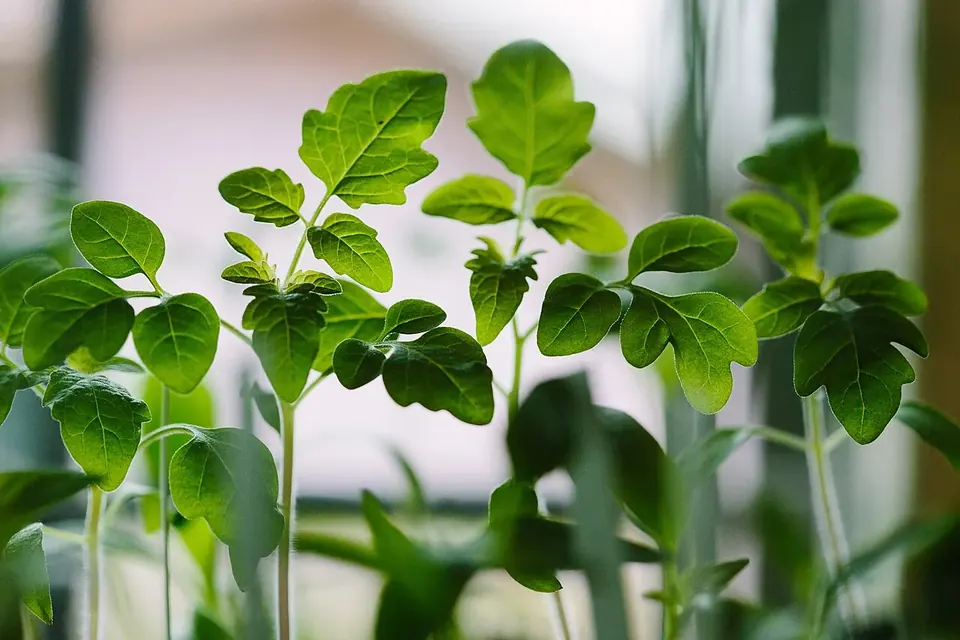
Count back from frost, give strong light, avoid damping off, harden off slowly.
 Growing what arrives
Small-space gardening by mail
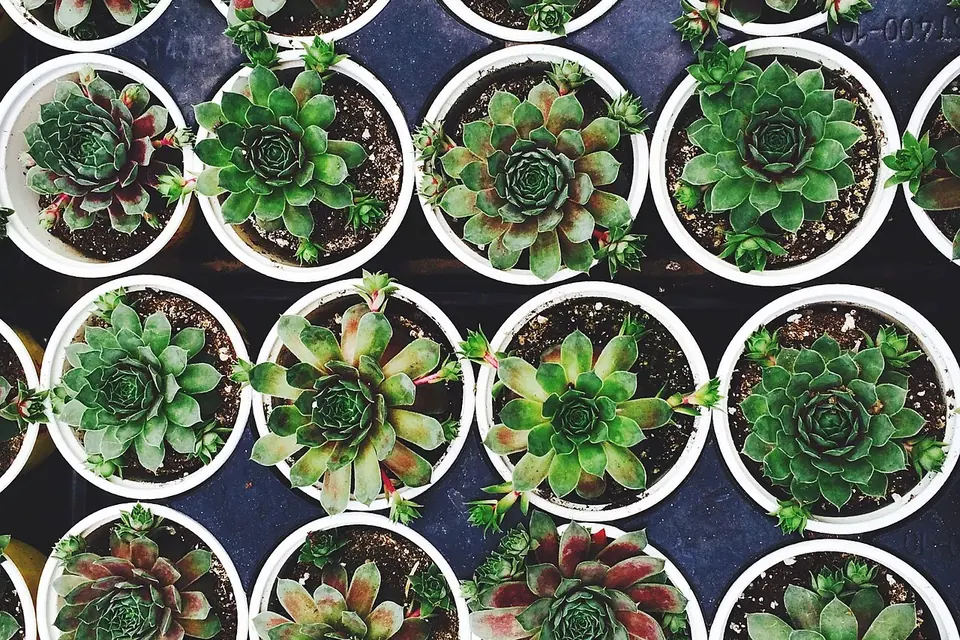
Compact varieties, container sizes, watering and vertical growing for small spaces.